The Cancel Physical Item Requests job can be used to cancel requests in any stage of the request.
Disable or Update Letter
The Ful Cancel Request letter automatically sends when requests are cancelled. This letter can be updated to include specific information, or disabled so it does not send.
Navigate to Letters Configuration in the Alma Configurations menu under General, Letters.
Navigate to the page with the Ful Cancel Request Letter. Be sure you are working with the EMAIL letter.
Disable: Toggle the Enabled button to the left of the letter name so it is grayed out. Click Save.
Edit: Click on the letter title to edit. You can make edits to the Labels or XML Template. See the Alma Letters Central Repository for more information on editing letters XML.
Create a list of requests to cancel
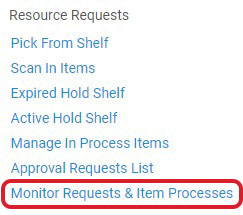
Select Monitor Requests & Item Processes from the Fulfillment menu under Resource Requests.
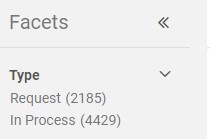
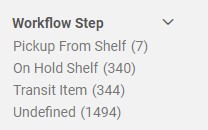
Use Facets to limit the requests to the specific requests to be cancelled.
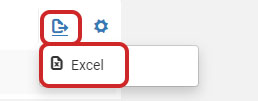
Export the list to Excel.
In Excel, further manipulate the list. Move the barcodes to the first column, and double check the title “Barcode” is in the first cell of the column. Save the file.
*This list can also be used when physically removing items from the hold shelf.
Create a Set of Items
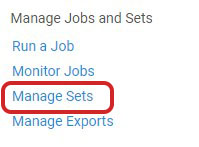
Select Manage Sets from the Admin menu under Manage Jobs and Sets.
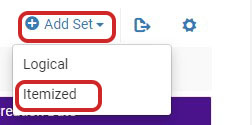
Click Add Set. Select Itemized.
Name your set. The Description and Note fields are optional.
Select the Set content type Physical items.
Under Add Contents from File to Set, select From File.
Click the folder icon. Select the file you saved to your computer in the step above.
Click Save.
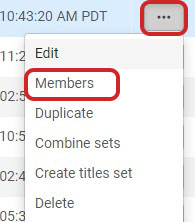
A job will run to create the set. Refresh your screen to see your set in the list. Click on Members from the row actions menu to view items in the set.
Run Cancel Item Requests Job
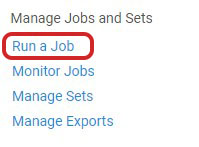
Select Run a Job from the Admin menu under Manage Jobs and Sets.
Select Cancel physical item requests and click Next.
Select the set you created and click Next.
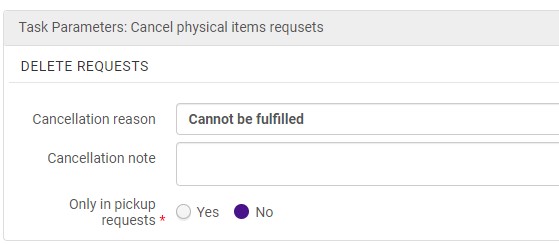
Select a Cancellation Reason and Cancellation Note*. Select No for Only in pickup requests to include all types of hold statuses. Click Next.
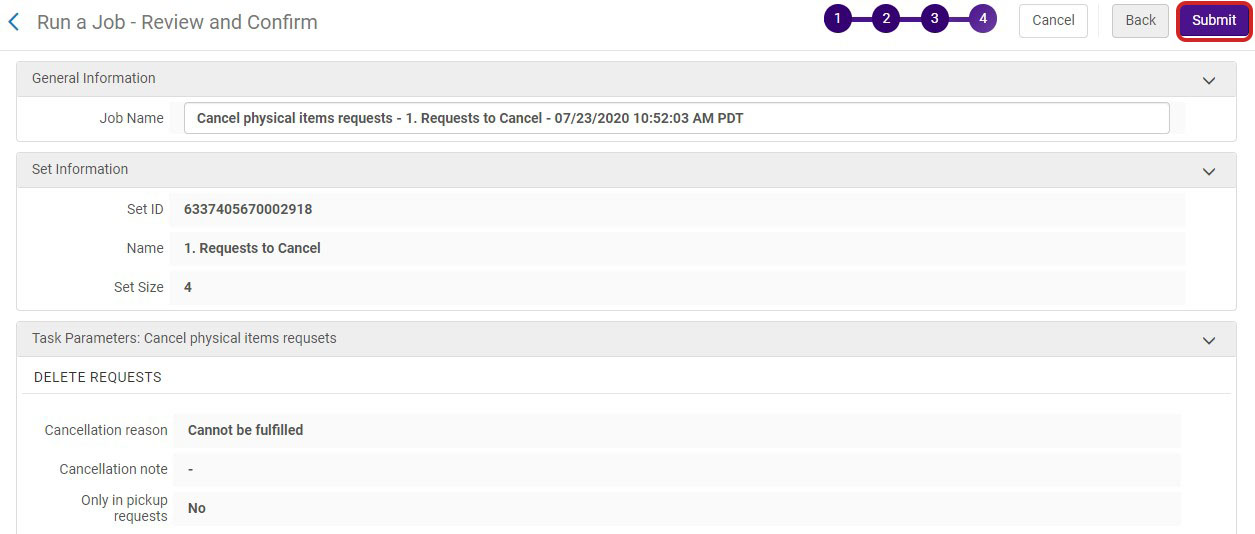
Verify your settings are correct and click Submit.
The job will cancel all requests and send the Ful Cancel Request Letter.
*If you are sending a letter, XML customization may be needed to include the Cancellation note.
Scan in Items to remove Hold Shelf Status
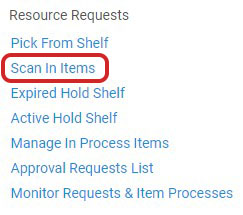
Select Scan In Items from the Fulfillment menu under Resource Requests.
Scan or enter each item barcode in the Scan item barcode field.
*Scan In can be achieved in batch through an API using a program such as RoboReturns.


